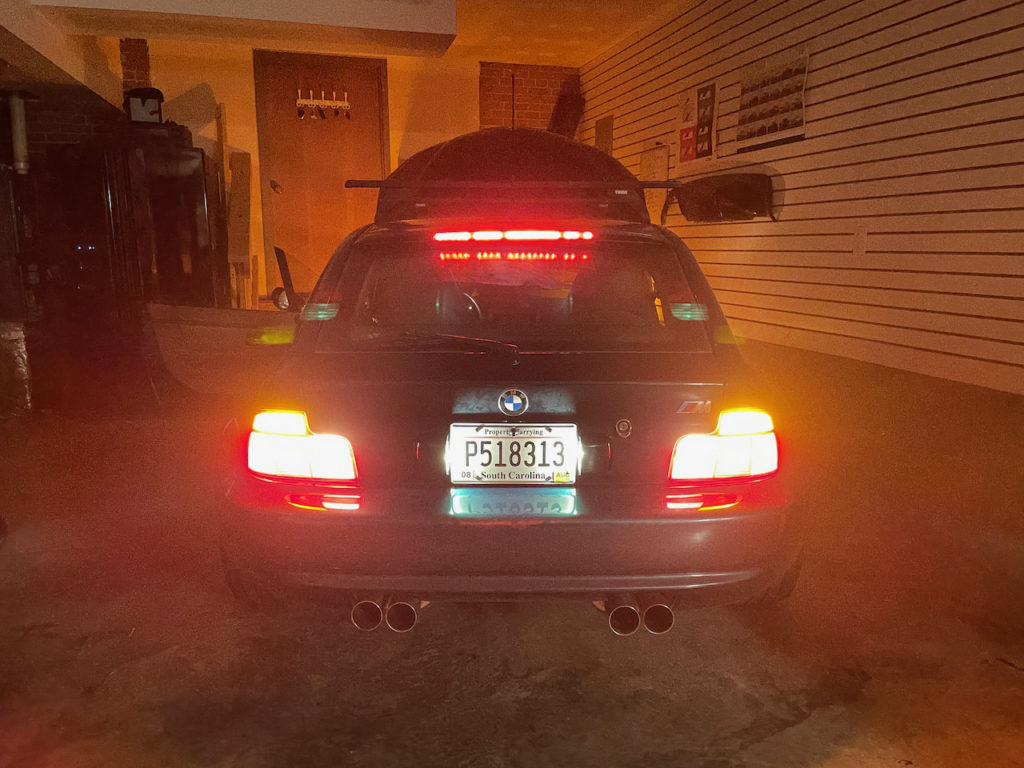
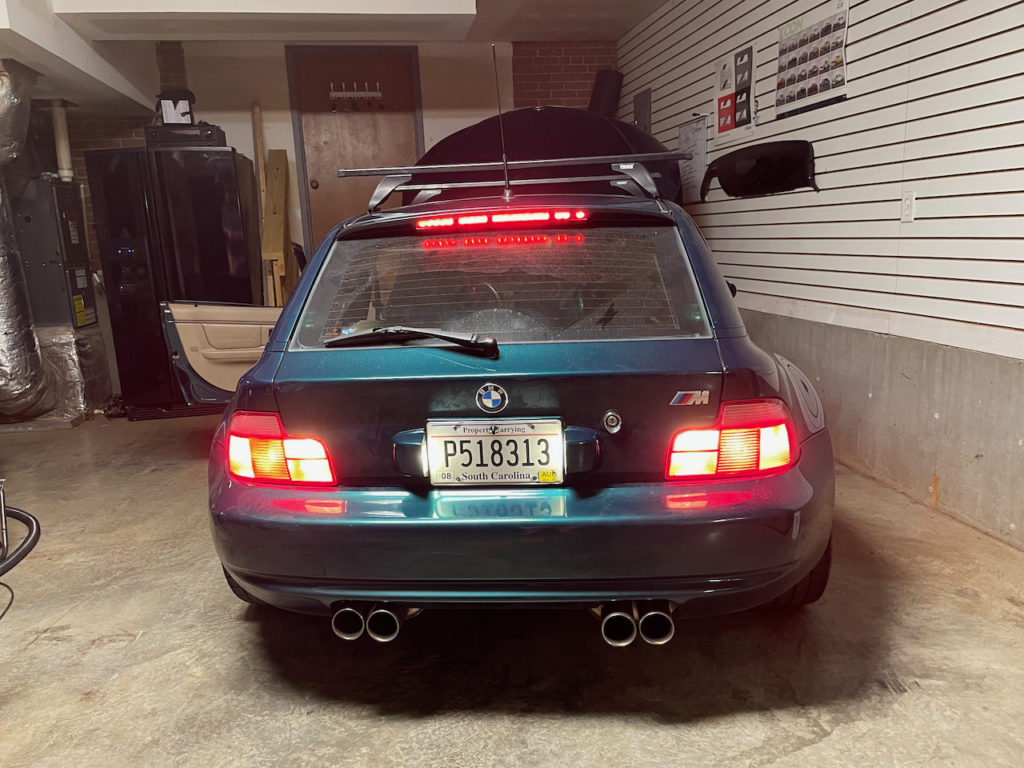
I went on a strange quest to convert almost every bulb on the Z3 M Coupe from incandescent to LED. I think the results look great. Note, I’ve also bypassed the dimmer rheostat, so I cannot attest to any dimming capability or effectiveness. I am also keeping the headlight low and high beam 9006/9005 for now as they work well enough for me.
All the previous how-to guides are now a bit dated, or missing pictures. Below is a running list of LED’s you can use to convert your M Coupe, M Roadster, Z3 Coupe, or Z3 Roadster.
Note: To avoid hyper-flashing turn signals, you’ll either need to spend $200+ on this funky computerized flasher relay, or spend $5-50 modifying your existing flasher relay. See how-to below.
Exterior
| Location | Details | Quantity |
|---|---|---|
| Front Turn Signals | 1157 LED Bulb – Dual Function 27 SMD LED Tower – BAY15D Bulb Amber – 2 Pack | 1 |
| Rear Turn Signals | 1156 Boat and RV LED Light Bulb – (18) SMD LED Tower – BA15S Retrofit Base – 325 Lumens Amber- 2 Pack | 1 |
| Rear Brake Lights | 1156 Boat and RV LED Light Bulb – (18) SMD LED Tower – BA15S Retrofit Base – 325 Lumens Red – 2 Pack | 1 |
| Rear Parking Lights | 67 LED Light Bulb – (12) SMD LED Tower – BA15S Base Red | 2 |
| Front Bumper | 194 LED Landscape Light Bulb – 5 SMD LED Tower – Miniature Wedge Retrofit – 95 Lumens Natural White | 2 |
| Side Turn Signals | 194 LED Landscape Light Bulb – 5 SMD LED Tower – Miniature Wedge Retrofit – 95 Lumens Amber | 2 |
| Backup Lights | 1156 LED Light Bulb – (51) SMD LED Tower – BA15S Base with Lens Natural White – 2 Pack | 2 |
| License Plate Housing | 194 LED Landscape Light Bulb – 5 SMD LED Tower – Miniature Wedge Retrofit – 95 Lumens Natural White | 2 |
| Third Brake Light | To be continued. |
Interior
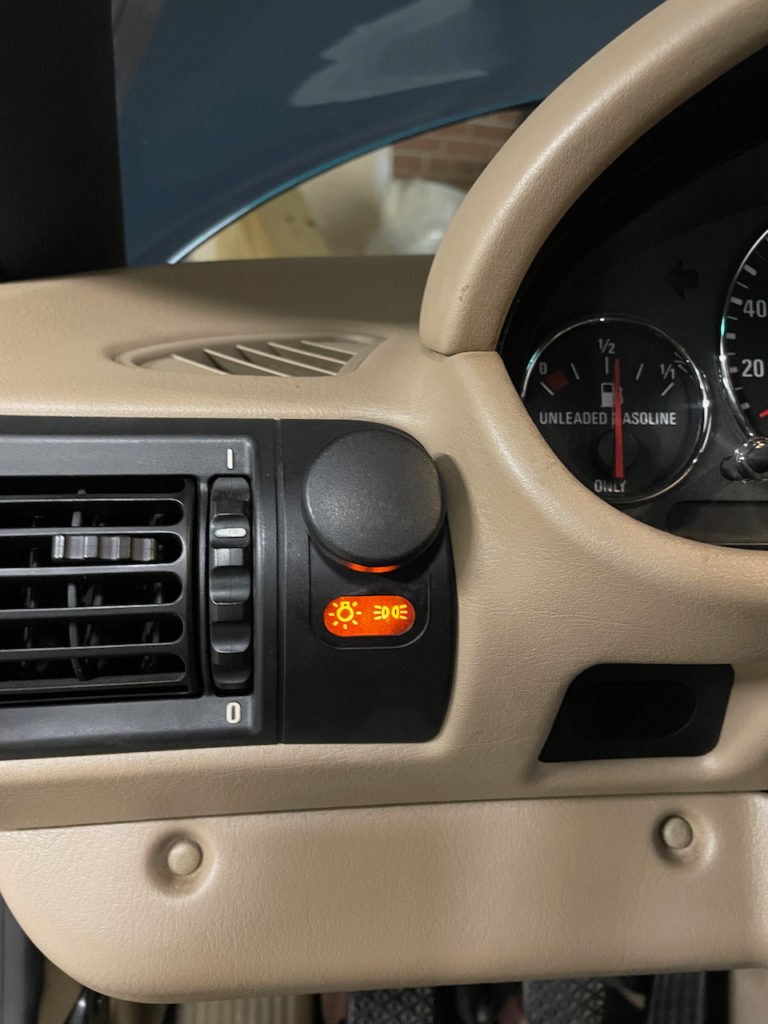
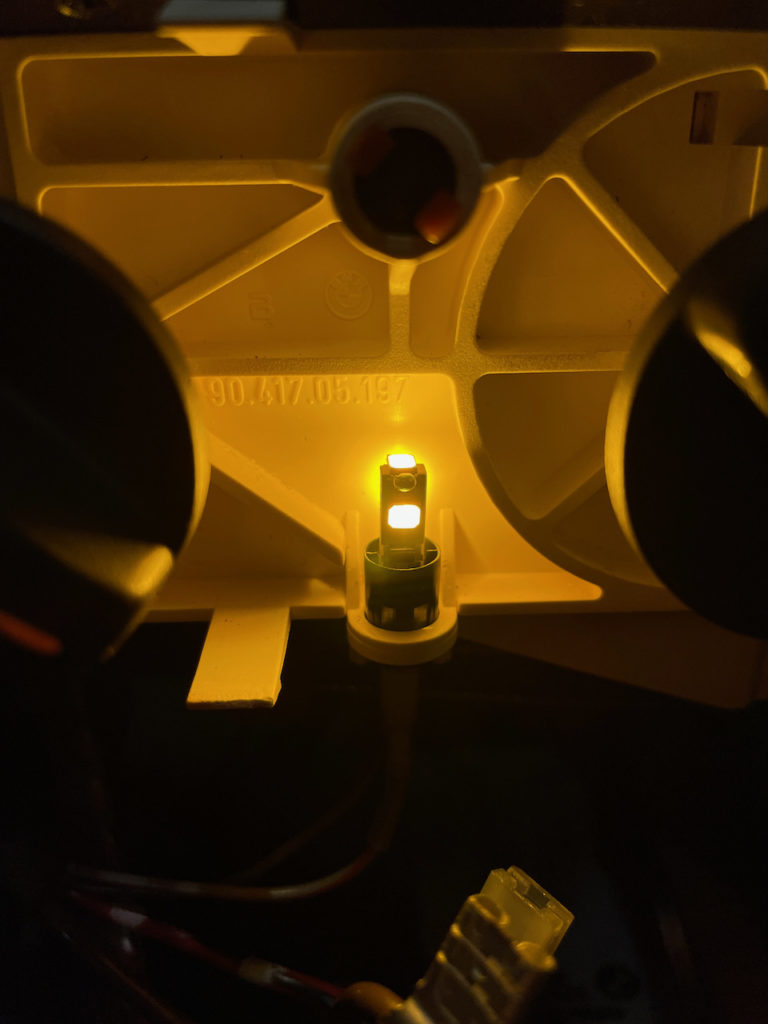
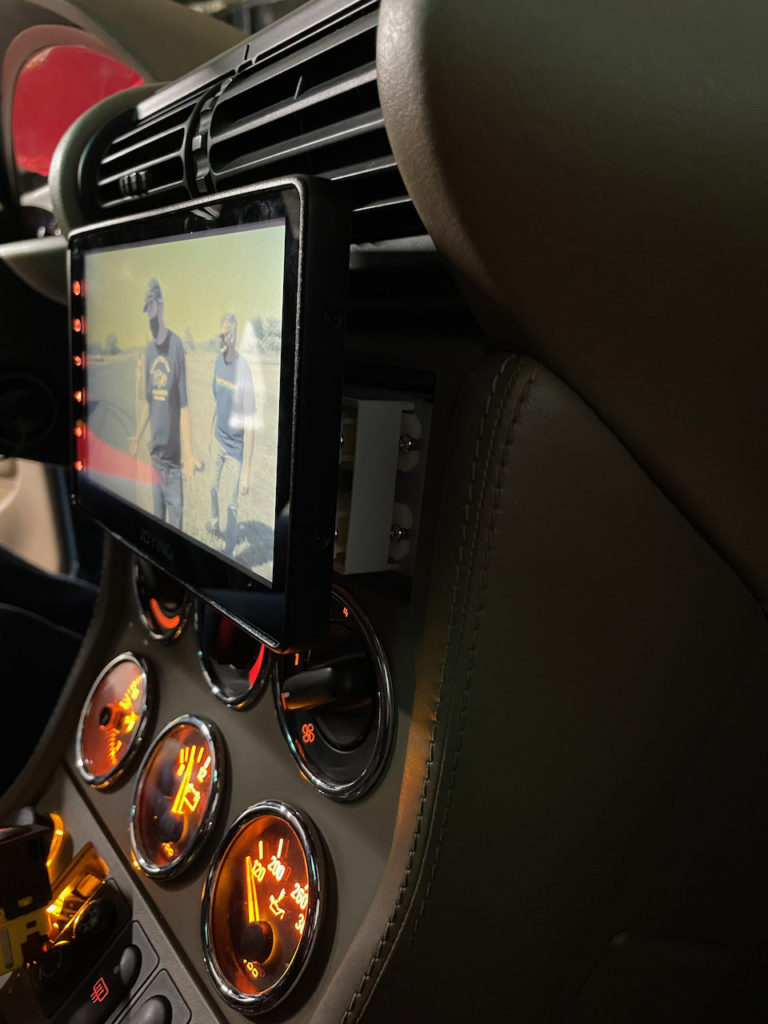
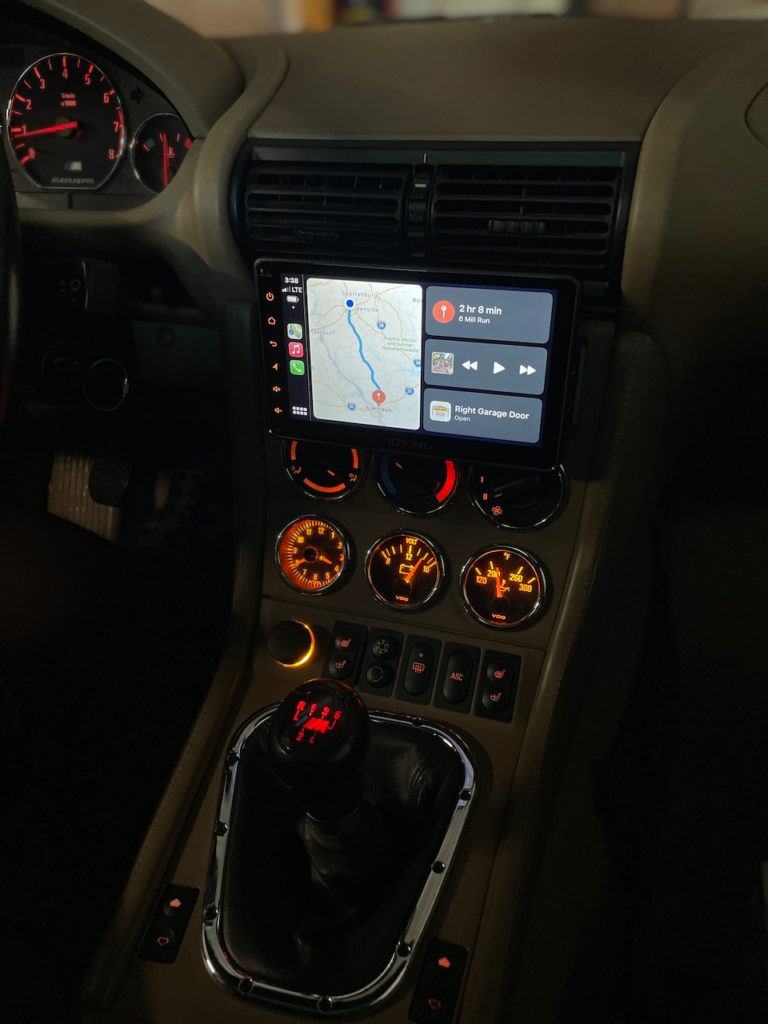
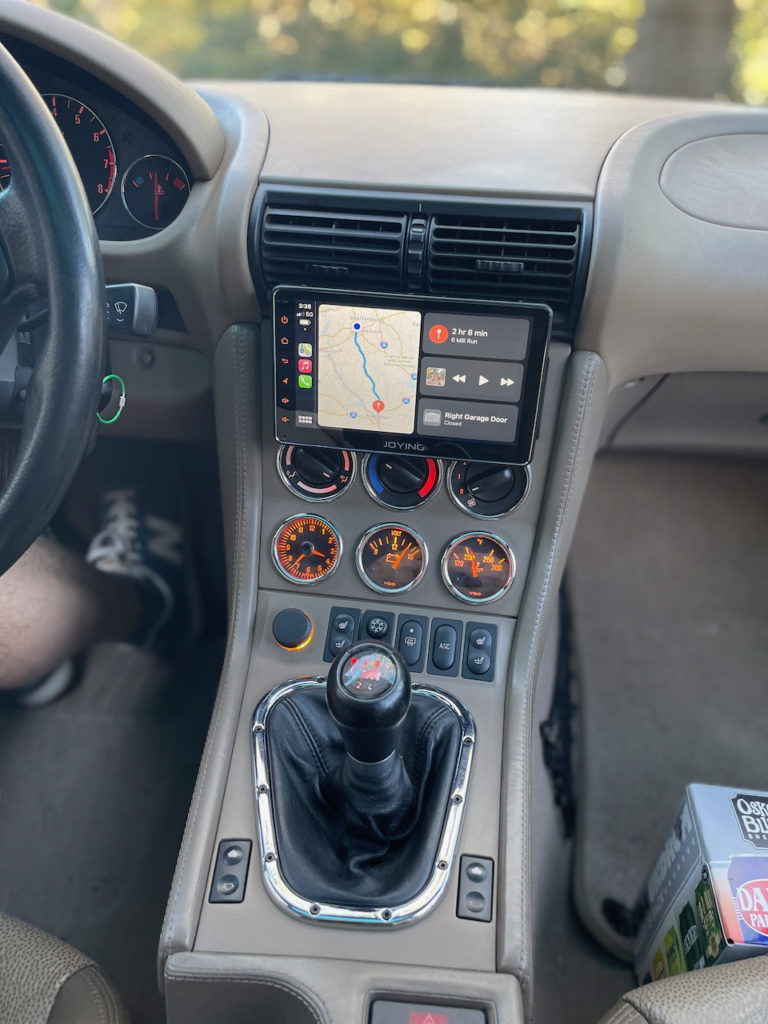
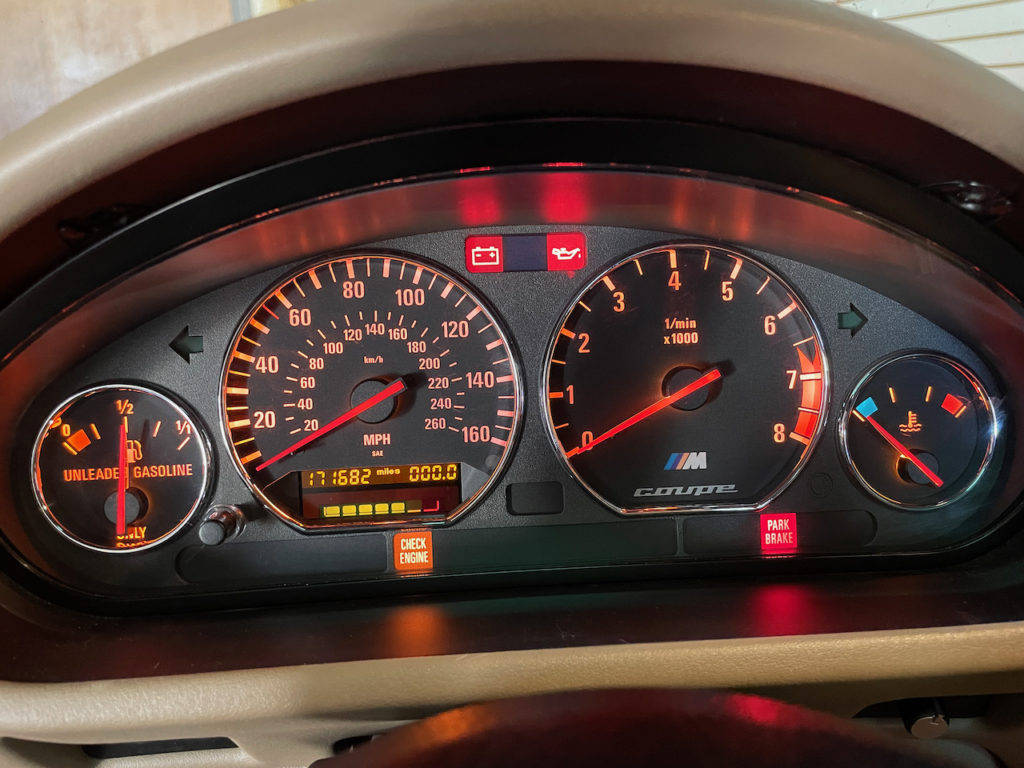
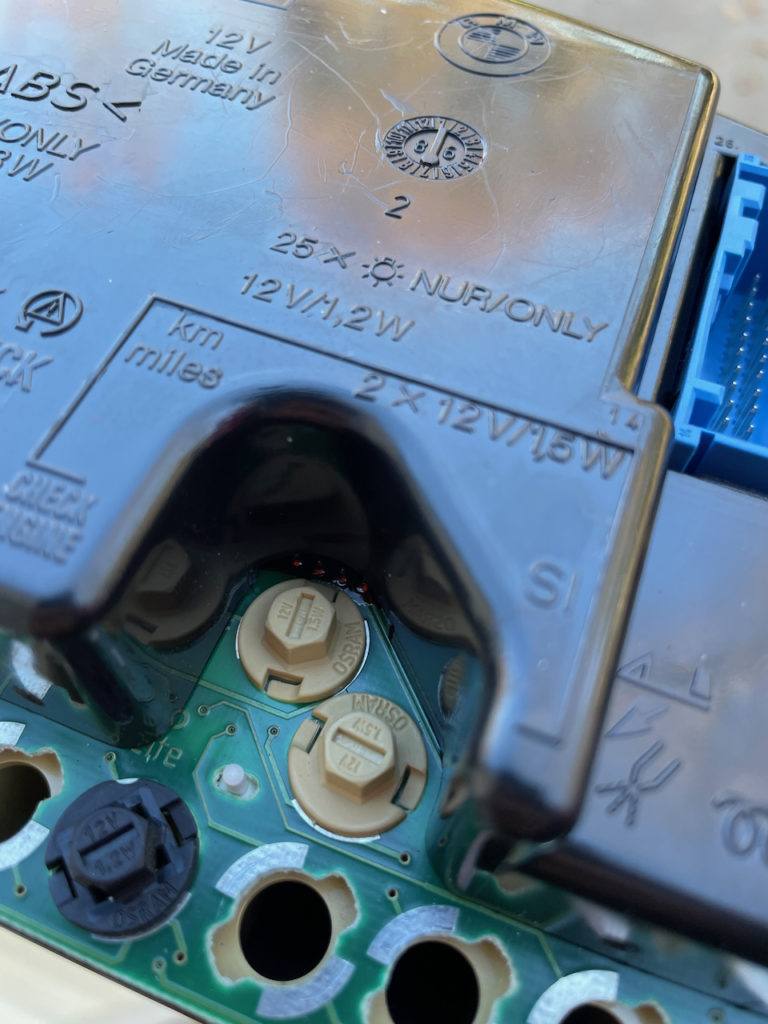
| Location | Details | Quantity |
|---|---|---|
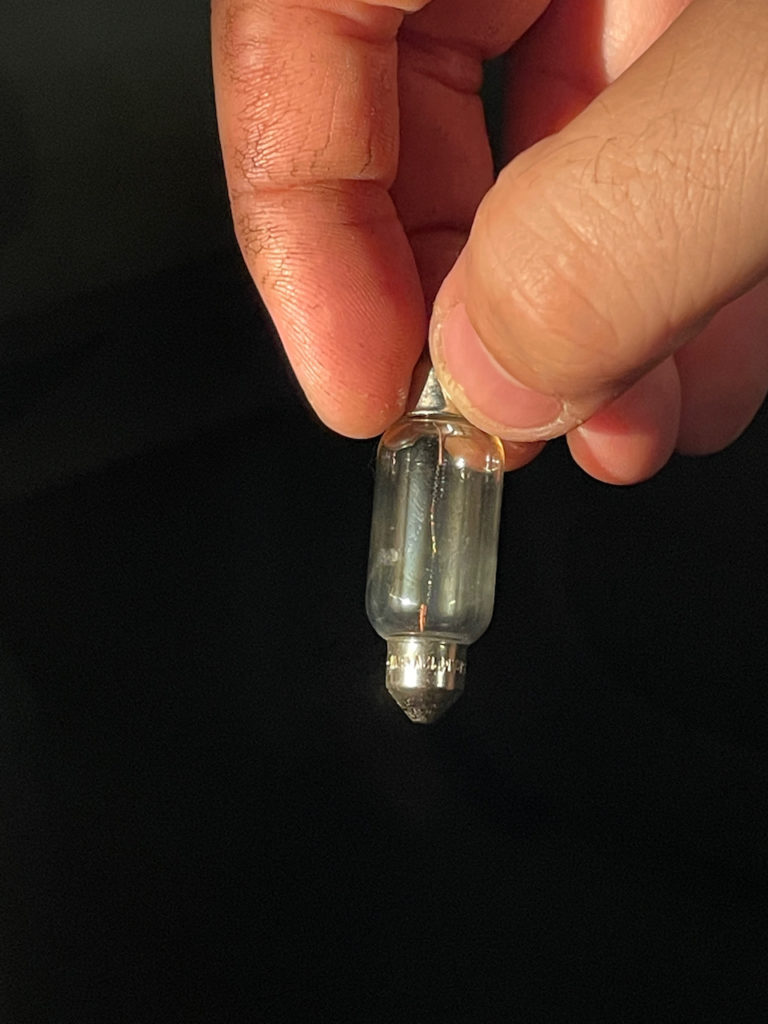
| Rear Coupe Cargo | 6451 LED Bulb – 6 SMD LED Festoon – 42mm Warm White | 2 |
| Interior Overhead | 3710 LED Bulb – 6 SMD LED Festoon – 38mm Warm White | 1 |
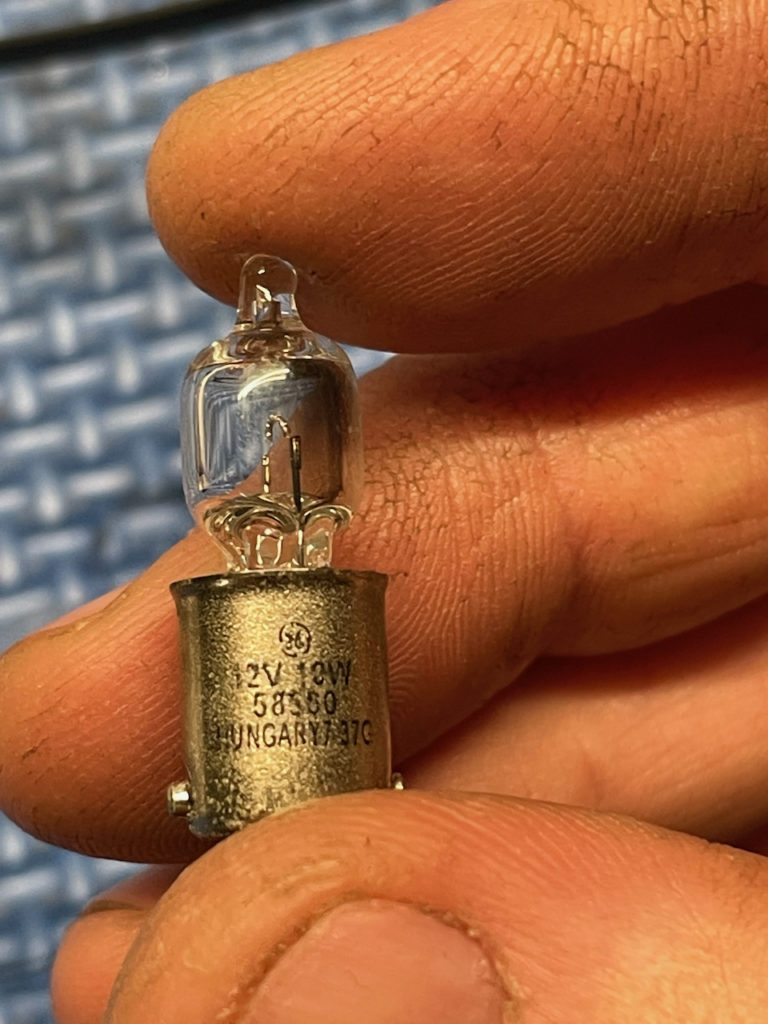
| Interior Overhead Map | BA9s LED Bulb – 5 SMD LED Tower – BA9s Bulb Warm White | 2 |
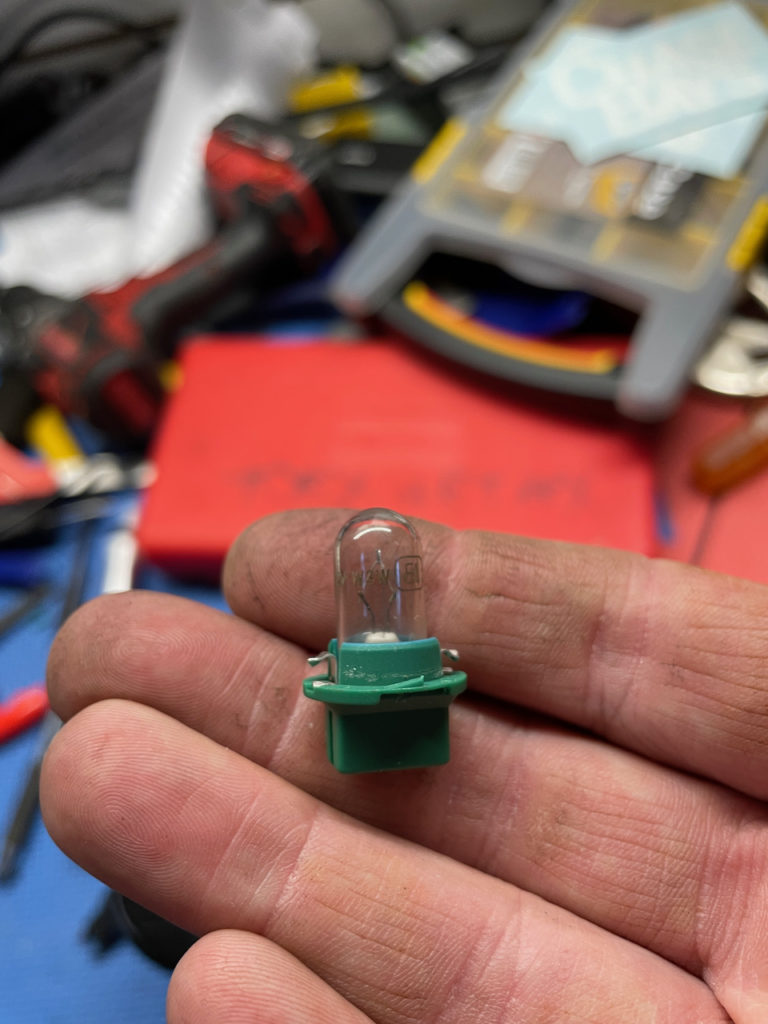
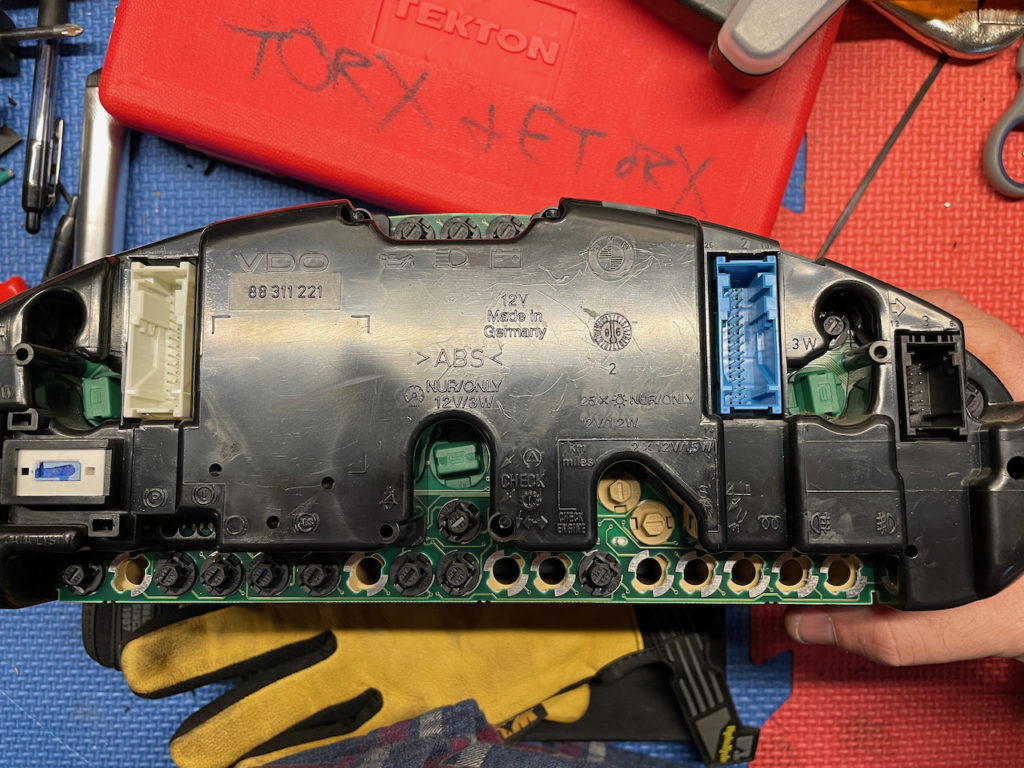
| Gauge Cluster small bulbs | B8 LED Bulb – SMD Instrument Panel LED Warm White *note that you can probably get by with 4 to illuminate parts of the dials, the rest are individual warning/error bulbs. You also have to slightly bend the tabs to make a secure fitment in the cluster. | 18 |
| Gauge Cluster Primary bulbs | 194 LED Landscape Light Bulb – 5 SMD LED Tower – Miniature Wedge Retrofit – 95 Lumens Amber *note, you may prefer warm white | 3x |
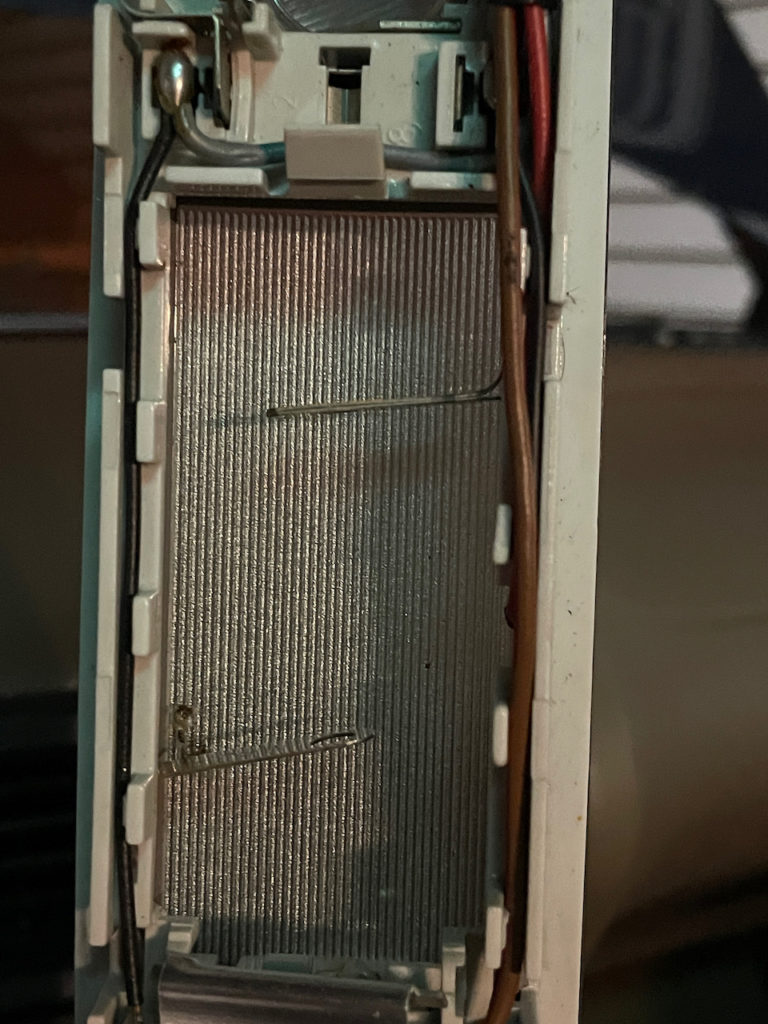
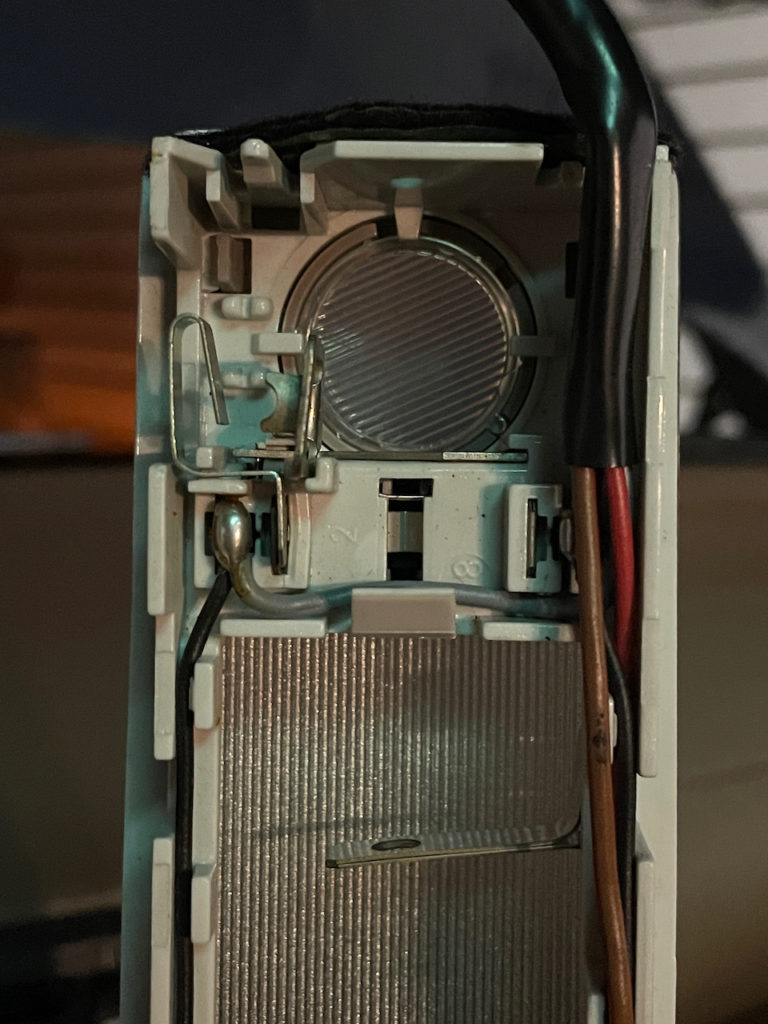
| HVAC | T1-3/4 Wedge Base Socket – Wired 74 Socket *note, must cut and solder in. One housing must be shaved down to fit the vertical position. | 2 |
| HVAC, Cigarette Light, Headlight Switch | 74 LED Bulb – 3 SMD LED – Miniature Wedge Base Amber *two for HVAC, one for cigarette light, one for headlight switch ** you may prefer warm white vs amber | 4 |
| VDO Gauges | 194 LED Landscape Light Bulb – 5 SMD LED Tower – Miniature Wedge Retrofit – 95 Lumens Amber * you may prefer warm white vs amber | 3 |
Hazard / Flasher Relay
When you switch over to LED lights in the turn signals, you’re going to get hyperflash when signaling. You may like that, or may not. You have a few options to solve this. The modify solution is described below.
- Install bulbs with built in resistors, or install resisters at the bulb
- Buy a ‘smart turn signal-direction indicator lights flasher ecu’
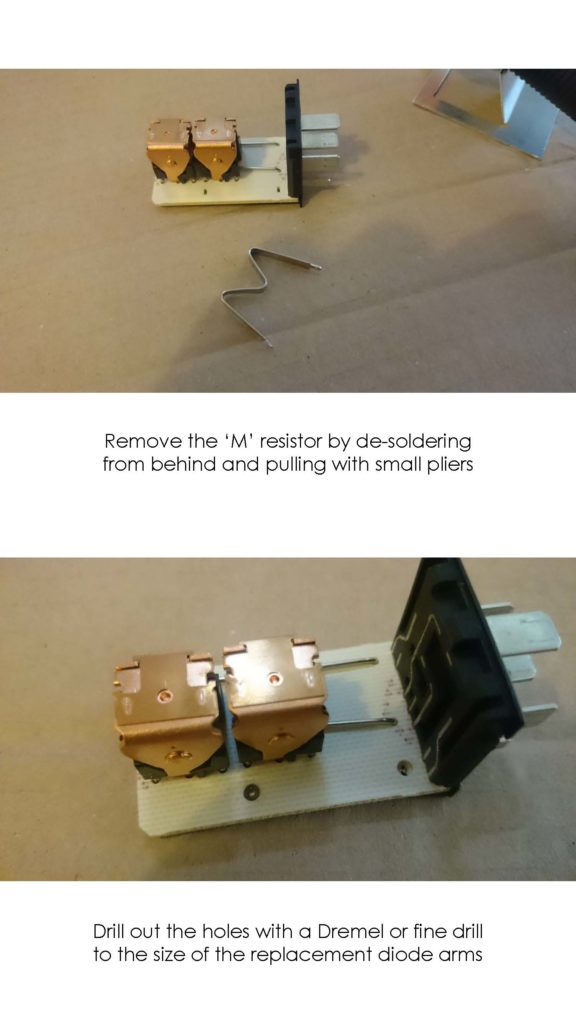
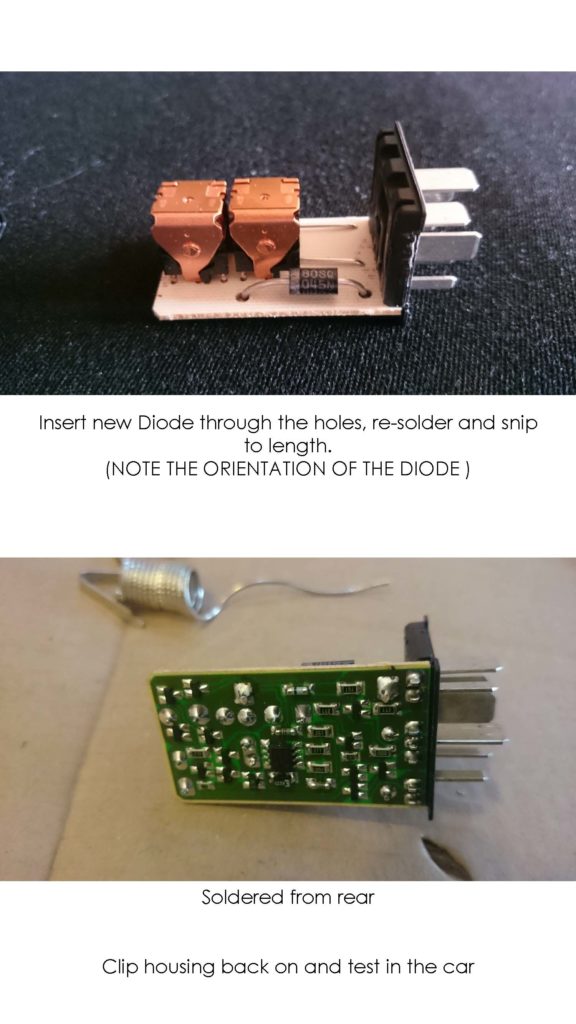
- Modify your existing 7 pin relay with a suitable diode
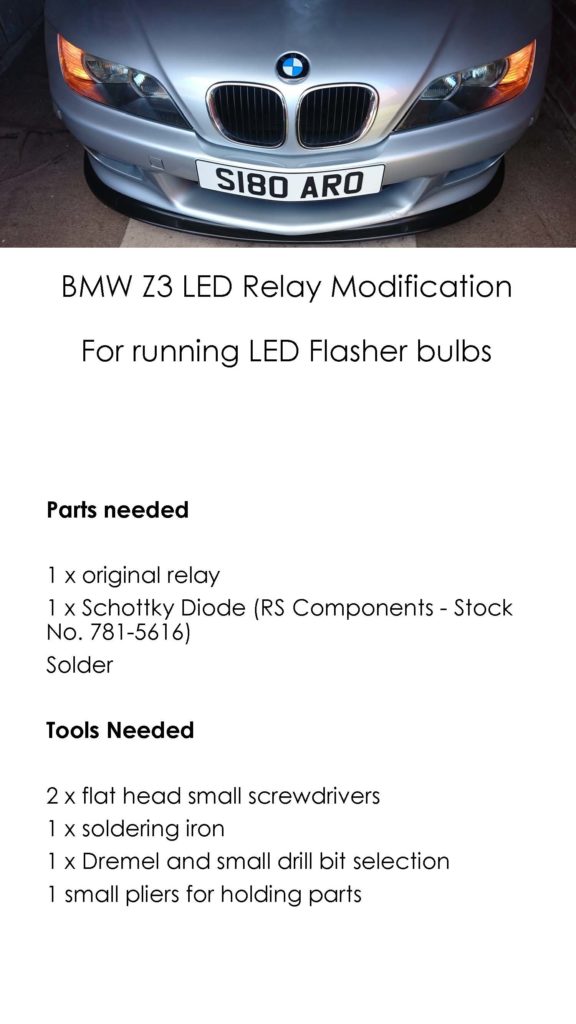
How-to: Modify your 7 pin hazard / flasher relay to work with LED
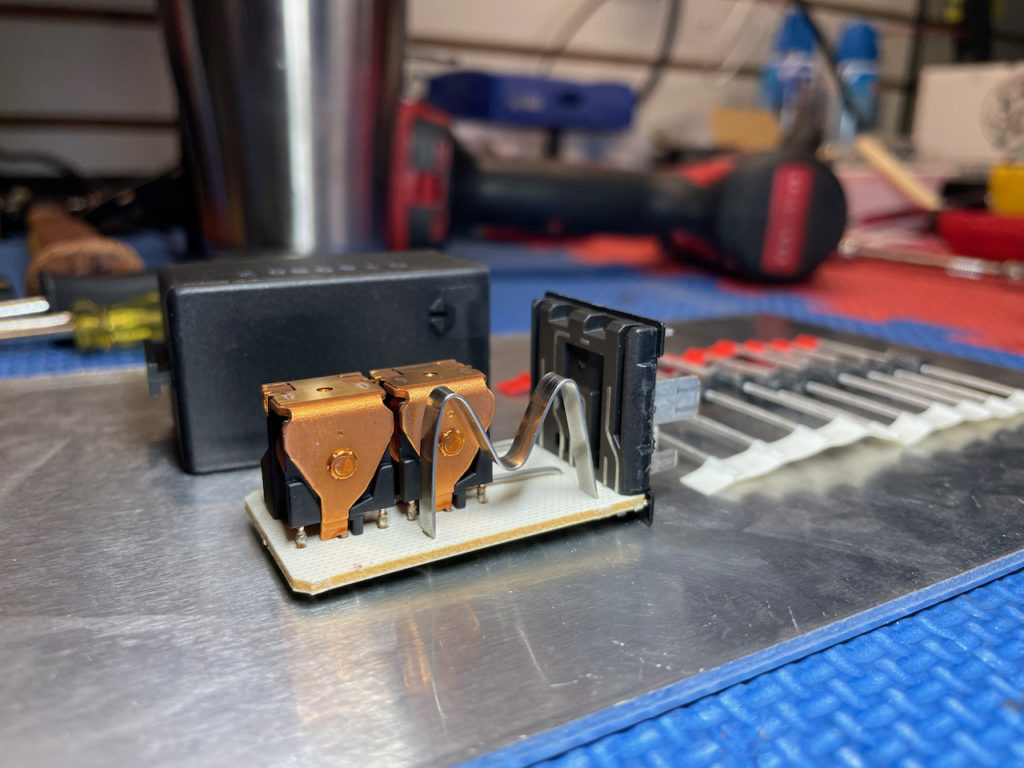
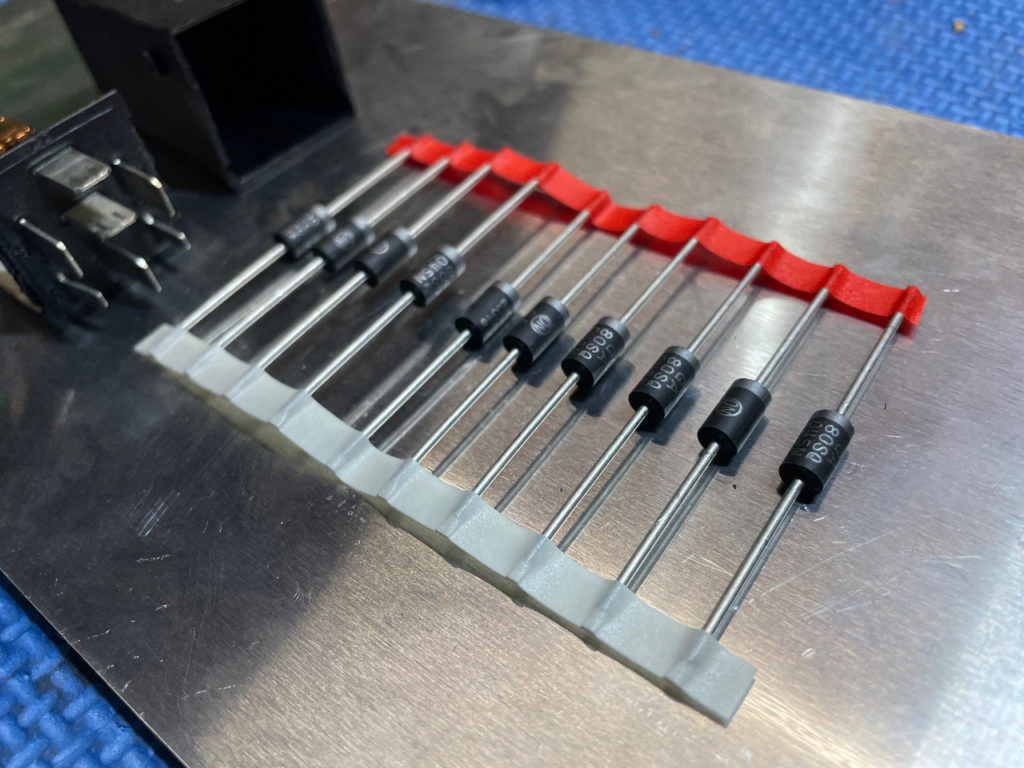
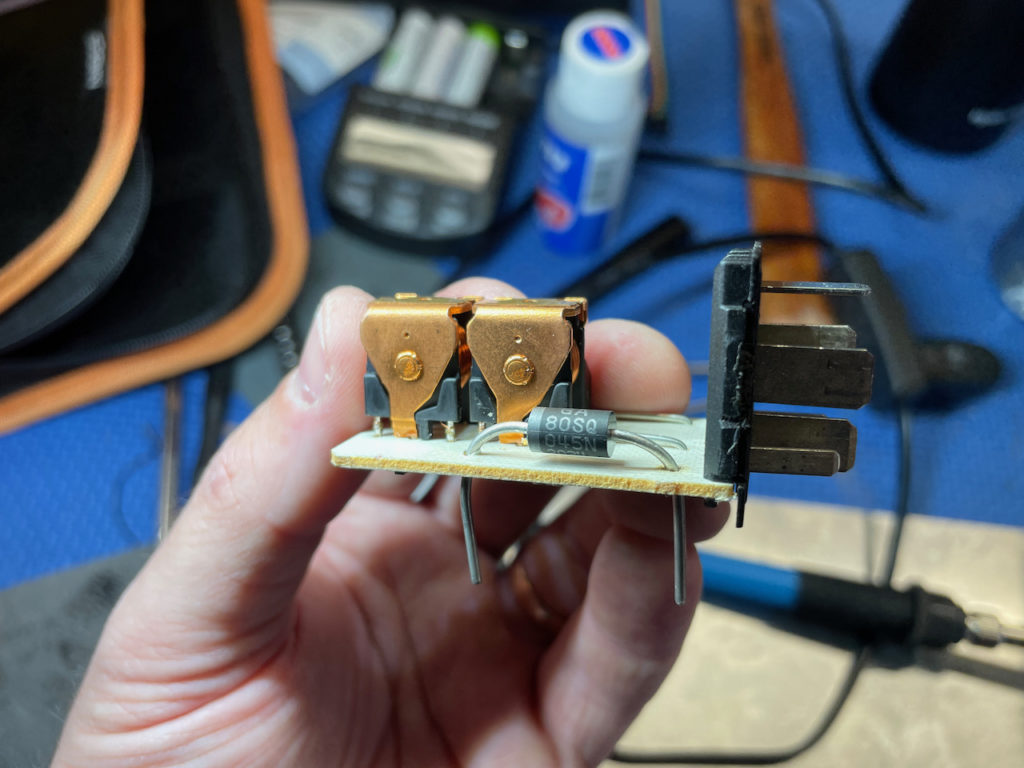
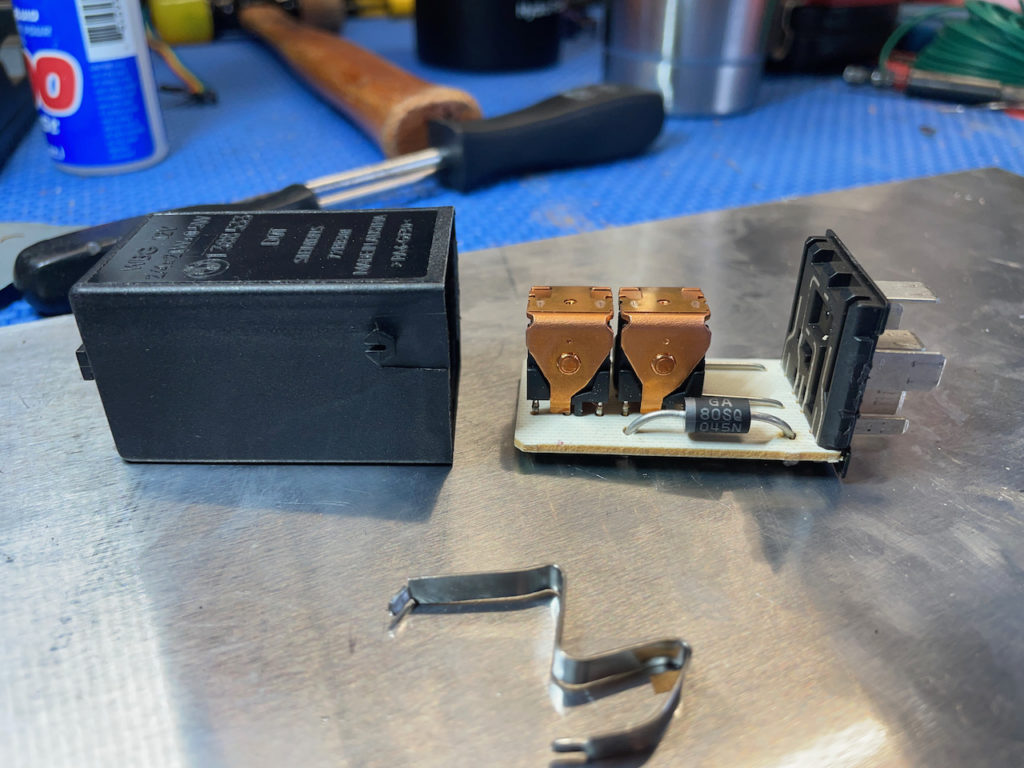
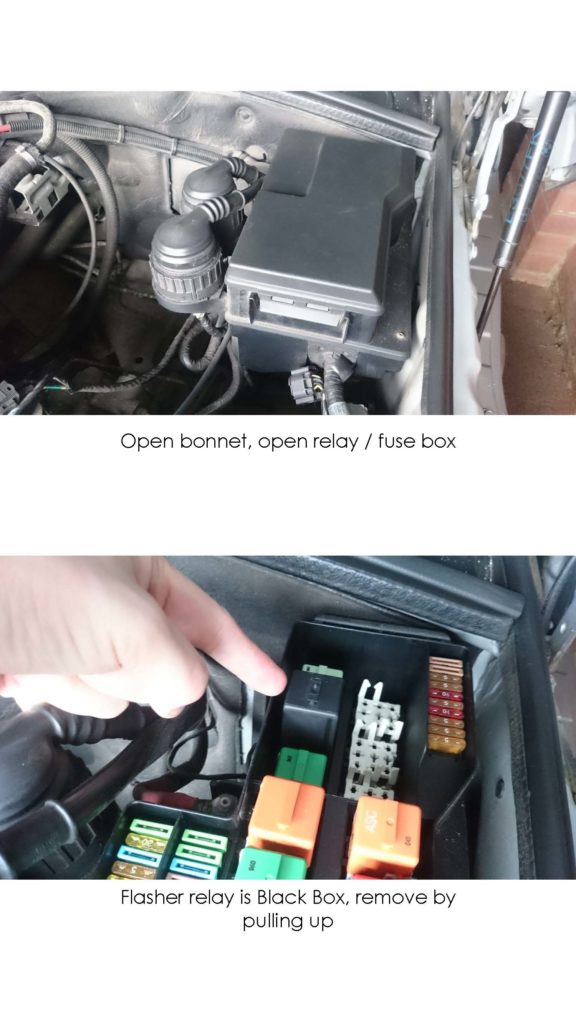
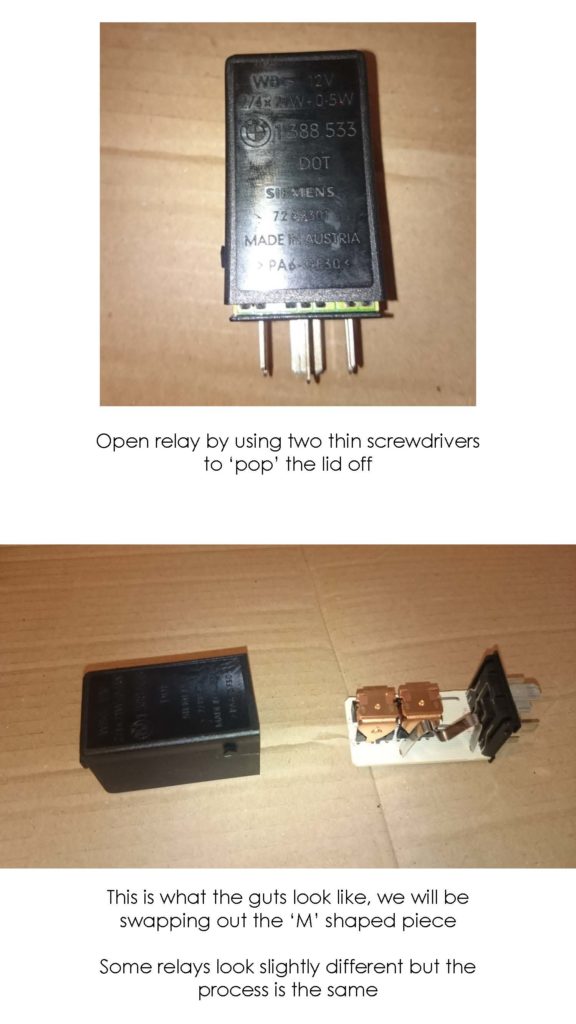
credit goes to this post (and this pdf), but I will repeat it here for internet longevity. If your relay does not look like the one above, well then you probably pulled the wrong relay out from under the hood, or its not an original bmw relay.
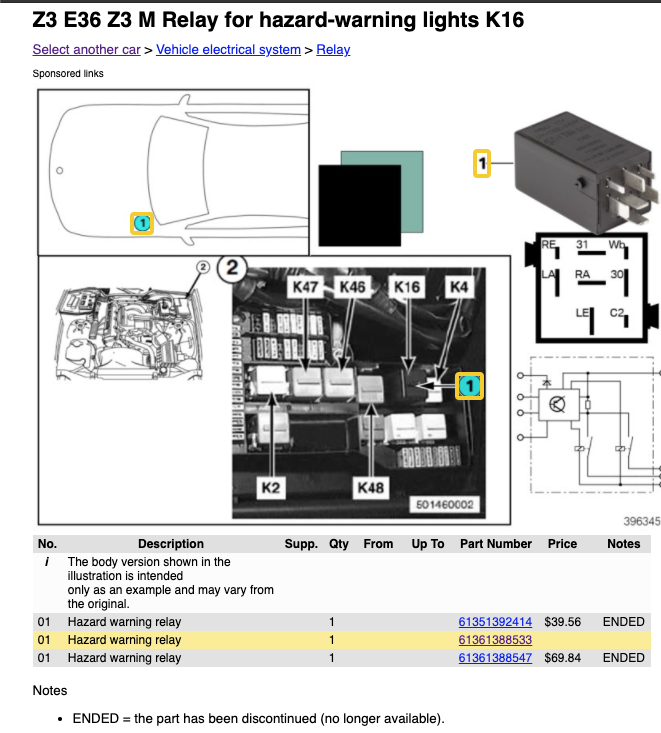
Required Parts, Skills and Tools
- 1 original 7 pin relay
- Z3 E36 Z3 M Relay for hazard-warning lights K16
- 61351392414
61361388533
61361388547
- 1 diode. I sourced 10x of these from Mouser electronics
- Mouser #: 863-80SQ045NRLG
- Description: Schottky Diodes & Rectifiers 8A 45V
- soldering iron, solder
- small flat head screwdrivers 2x, 1x small drill bit, 1x small pliers

Leave a Reply